Katie Foreman W+M Agent
"I have a background in architecture and my husband is a mechanical engineer who grew up doing house projects." said West + Main agent Katie Forman.
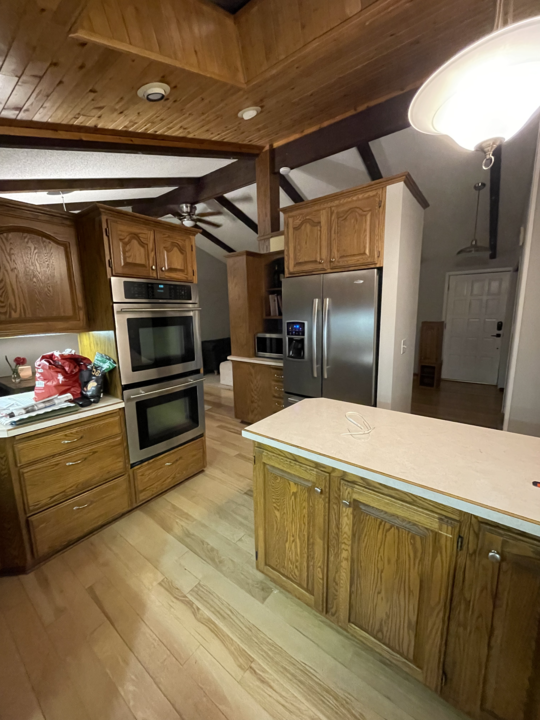

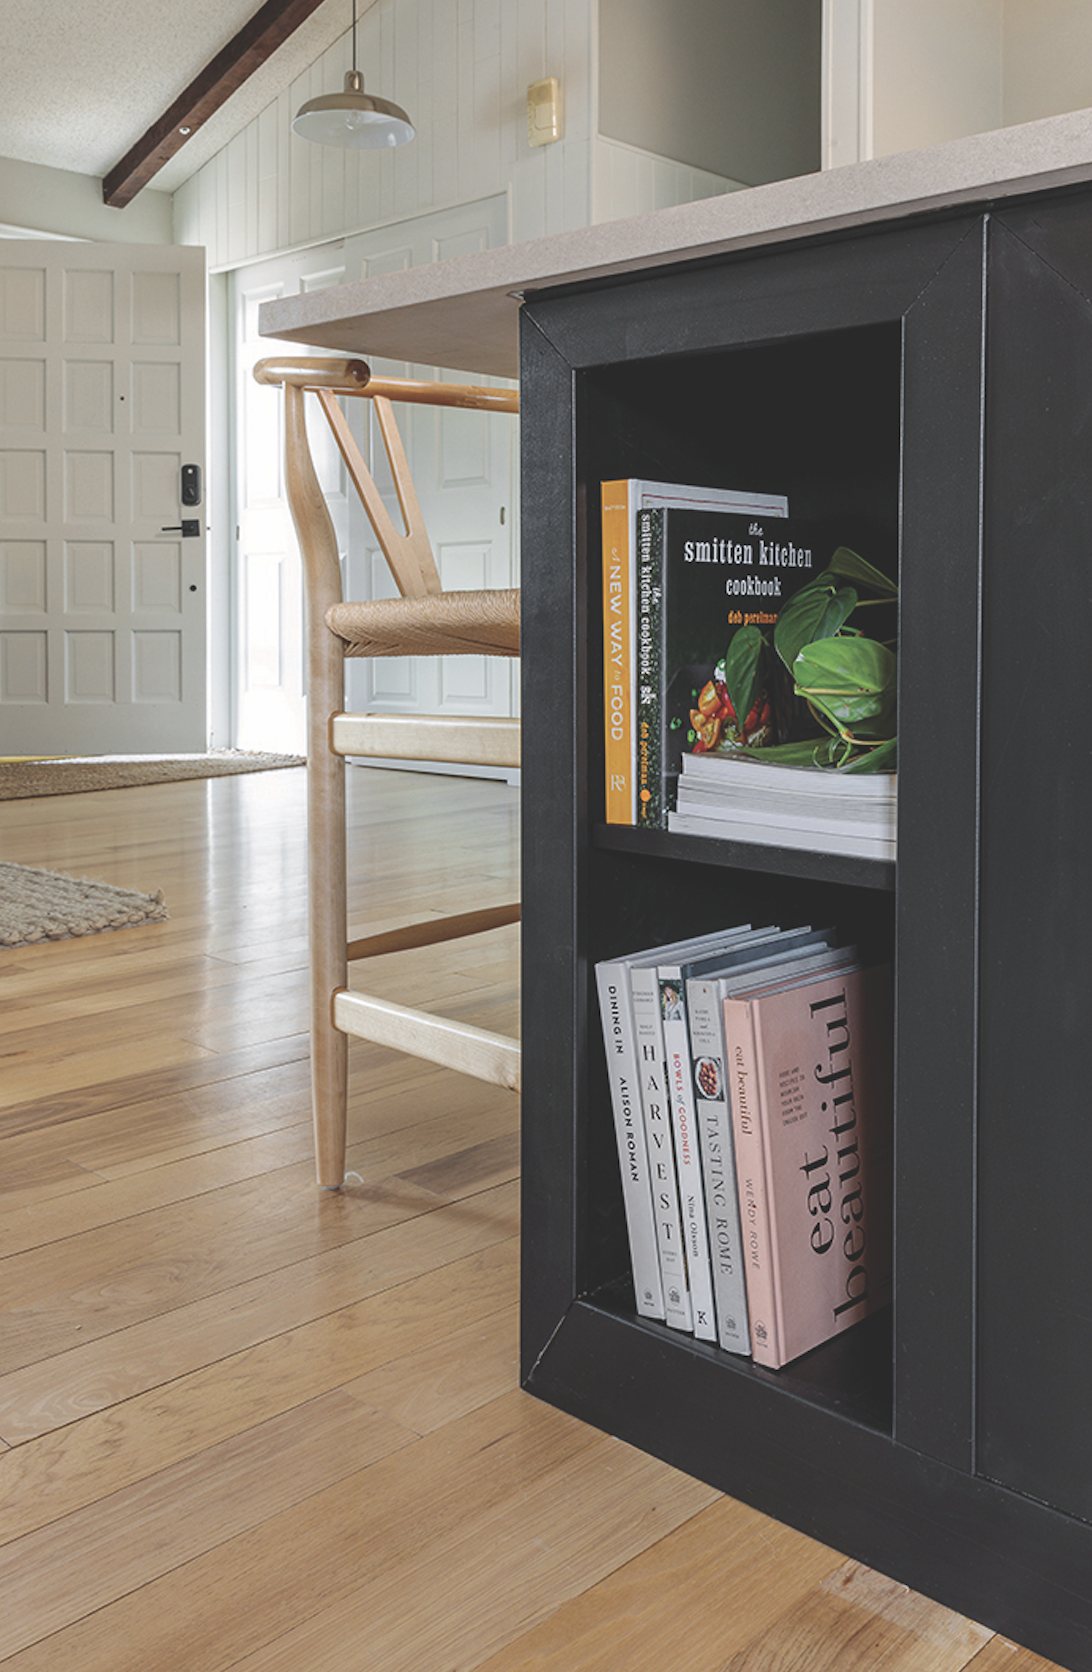
"It was hard! This was our first house project and we had to learn how to delicately tear up and relay wood flooring, build an island from scratch, move and install all appliances, and sand, prime and paint cabinets after rebuilding them."
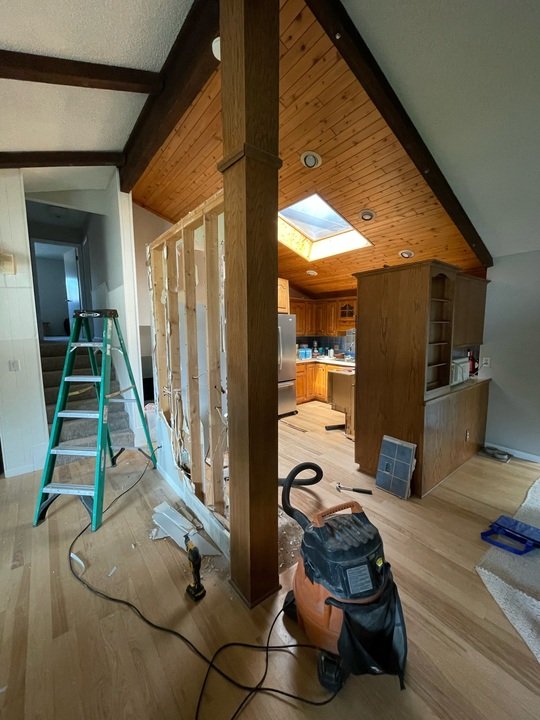
The one thing Katie and her husband hired out was the gas line relocation on the fly! They started demolition before they had anything planned or selected, but had saved inspiration photos on Instagram for about a month.
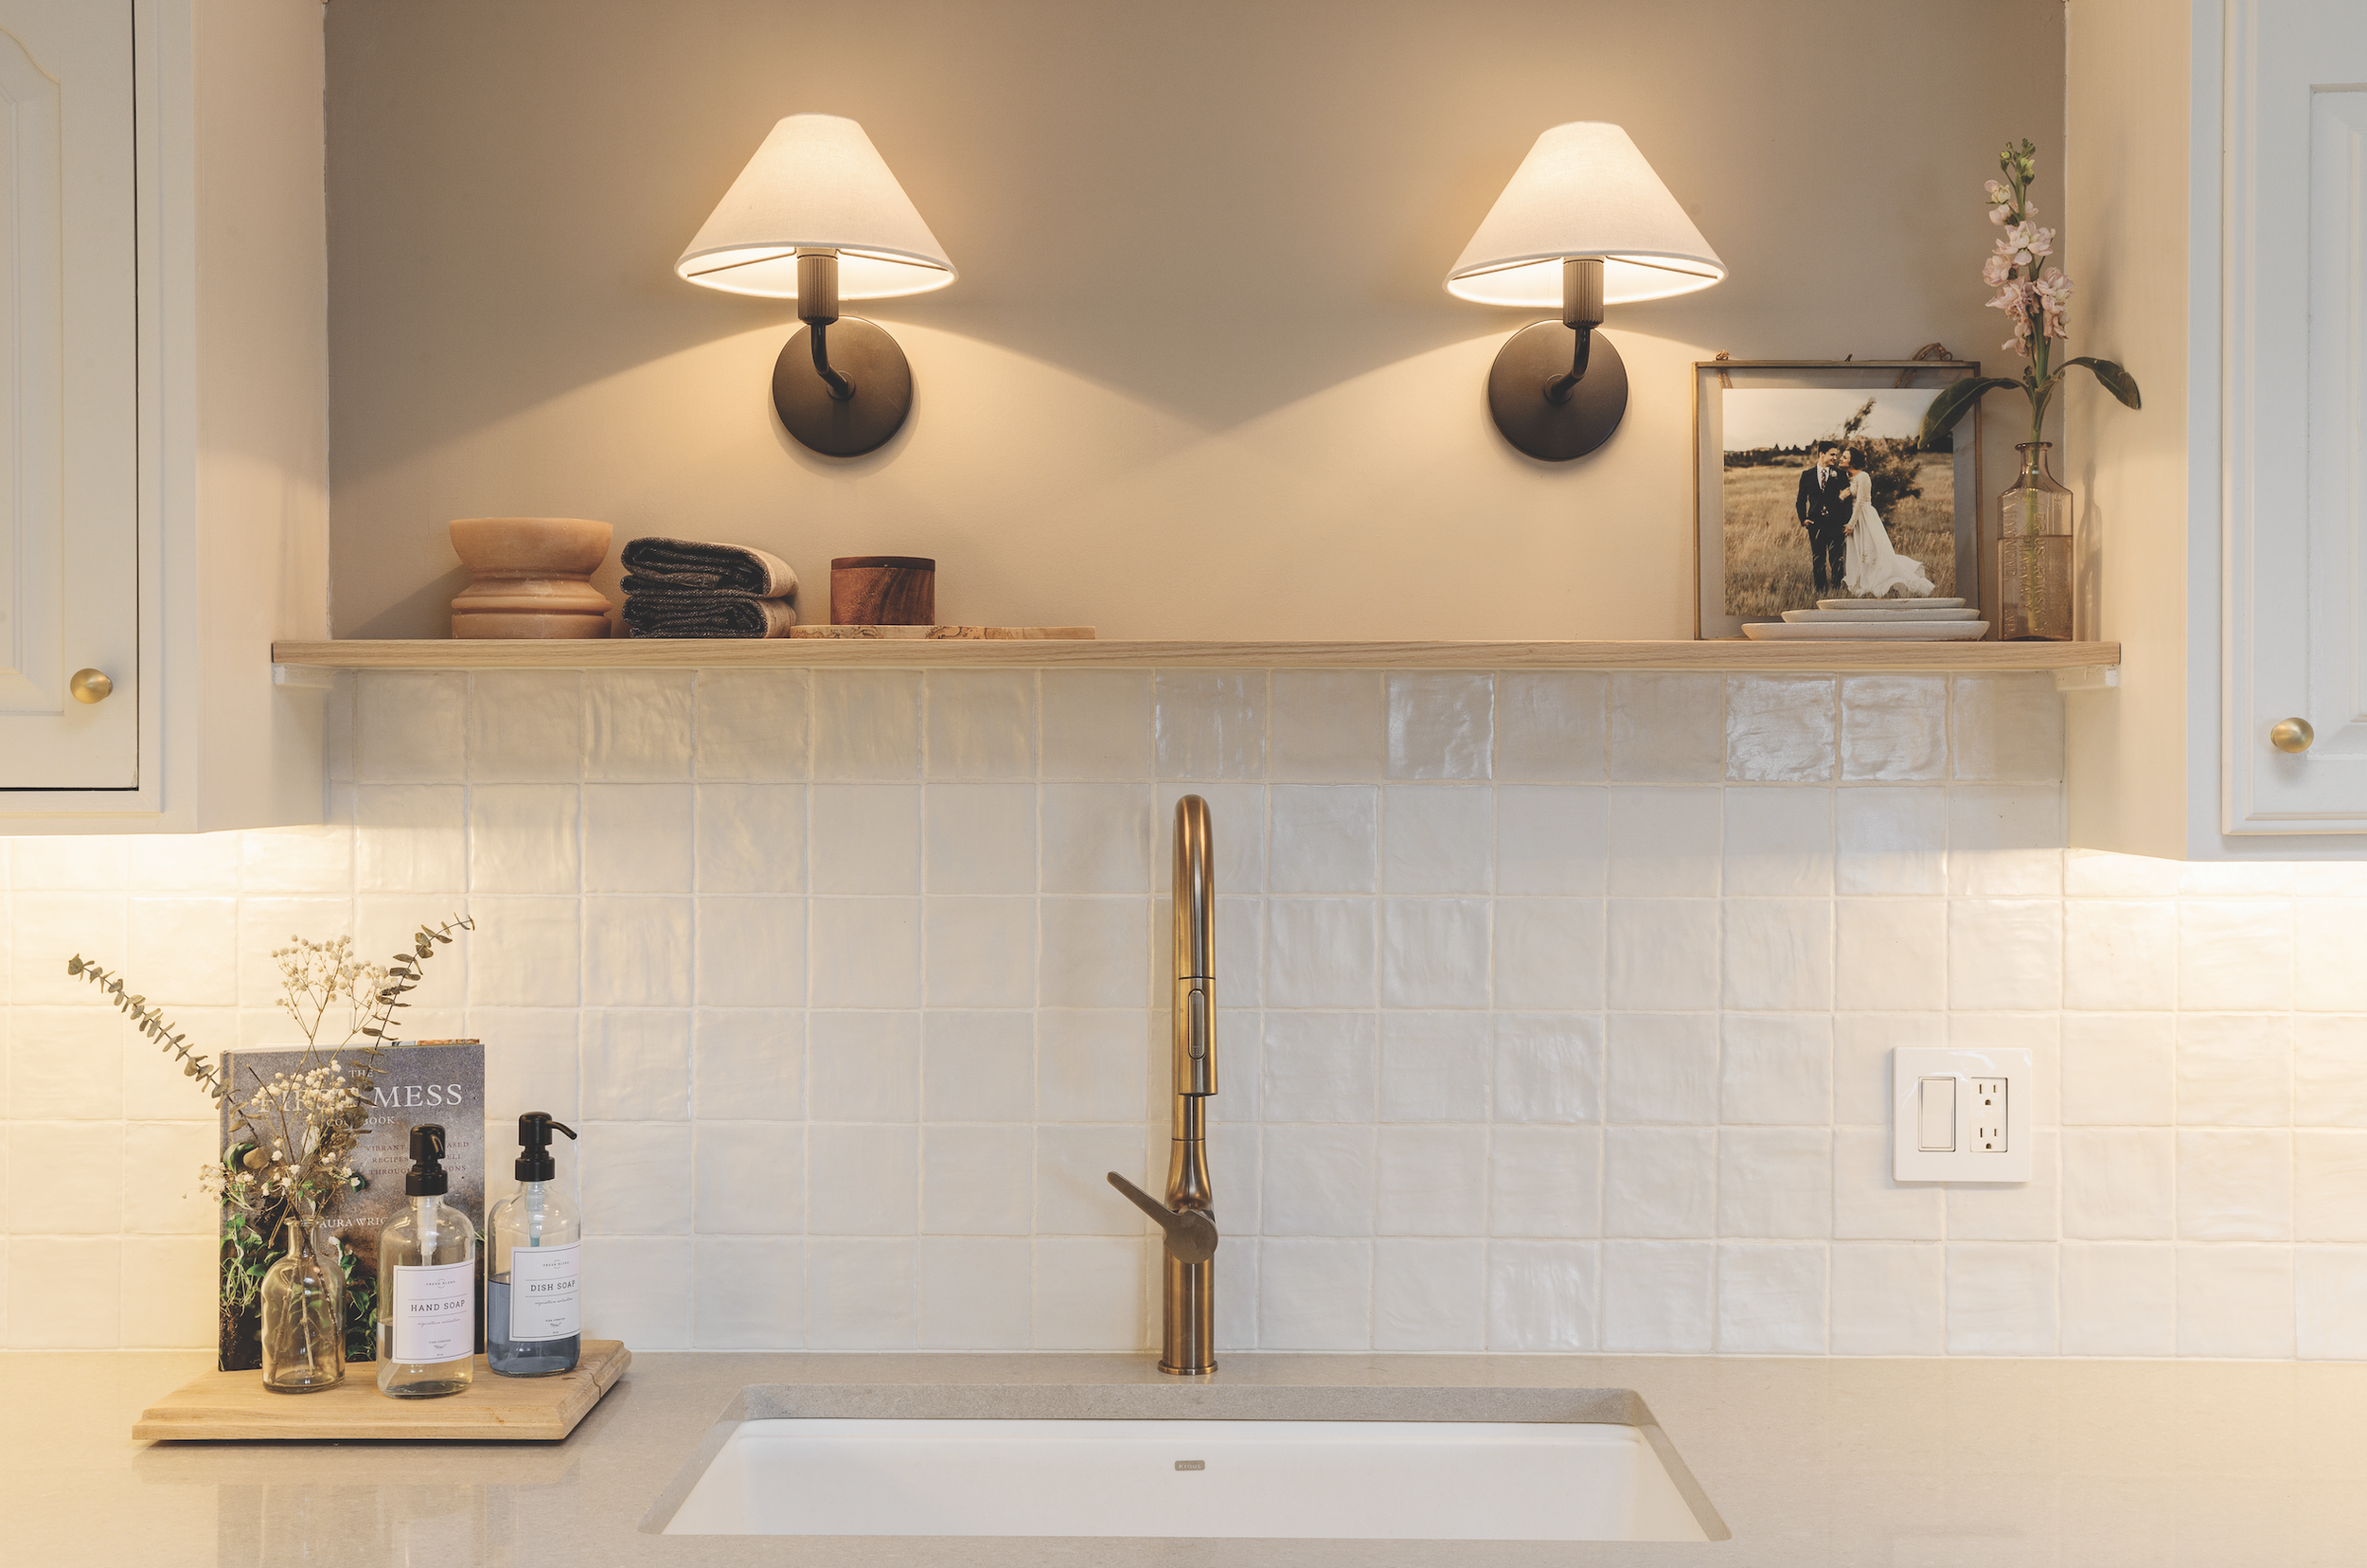
"We made decisions as they came up and ordered finishes when needed," Katie explained. "We had very limited money for this project, so some of things were limited to what Facebook marketplace had: the white enamel sink, sink faucet and West Elm wall sconces."

"We didn’t have much of an ‘original vision’ other than ‘anything else’. We created a vision as we went," said Katie. "Because there was no planning at the time we started demoing, we didn’t know where the project would take us. Each time a design element needed to be chosen, we would look back through our inspo photos and then quickly make a decision that we thought was best. We had a VERY limited budget and decided to wait another year. However, we worked and worked on finding a layout that would let us reuse all the cabinets, the majority of the appliances and the wood floor."

One night at 11pm, they sat on the couch looking at the wall dividing the living space and kitchen. That night, they tore down the dividing wall…and from there Katie had to scurry to find designs they liked, the finishes and paint colors. Nothing was ordered or planned fully!
"We used a small local company to do the countertops with a lead time of only a few weeks," said Katie. "Everything else was time-dependent on our own work schedules. We did almost the entire kitchen between 9pm-12pm on weeknights once our babe was asleep!"

KITCHEN REMODEL TOTAL: $8,500
Related Links
As Featured in West + Main Home Magazine: From Inspiration to Renovation
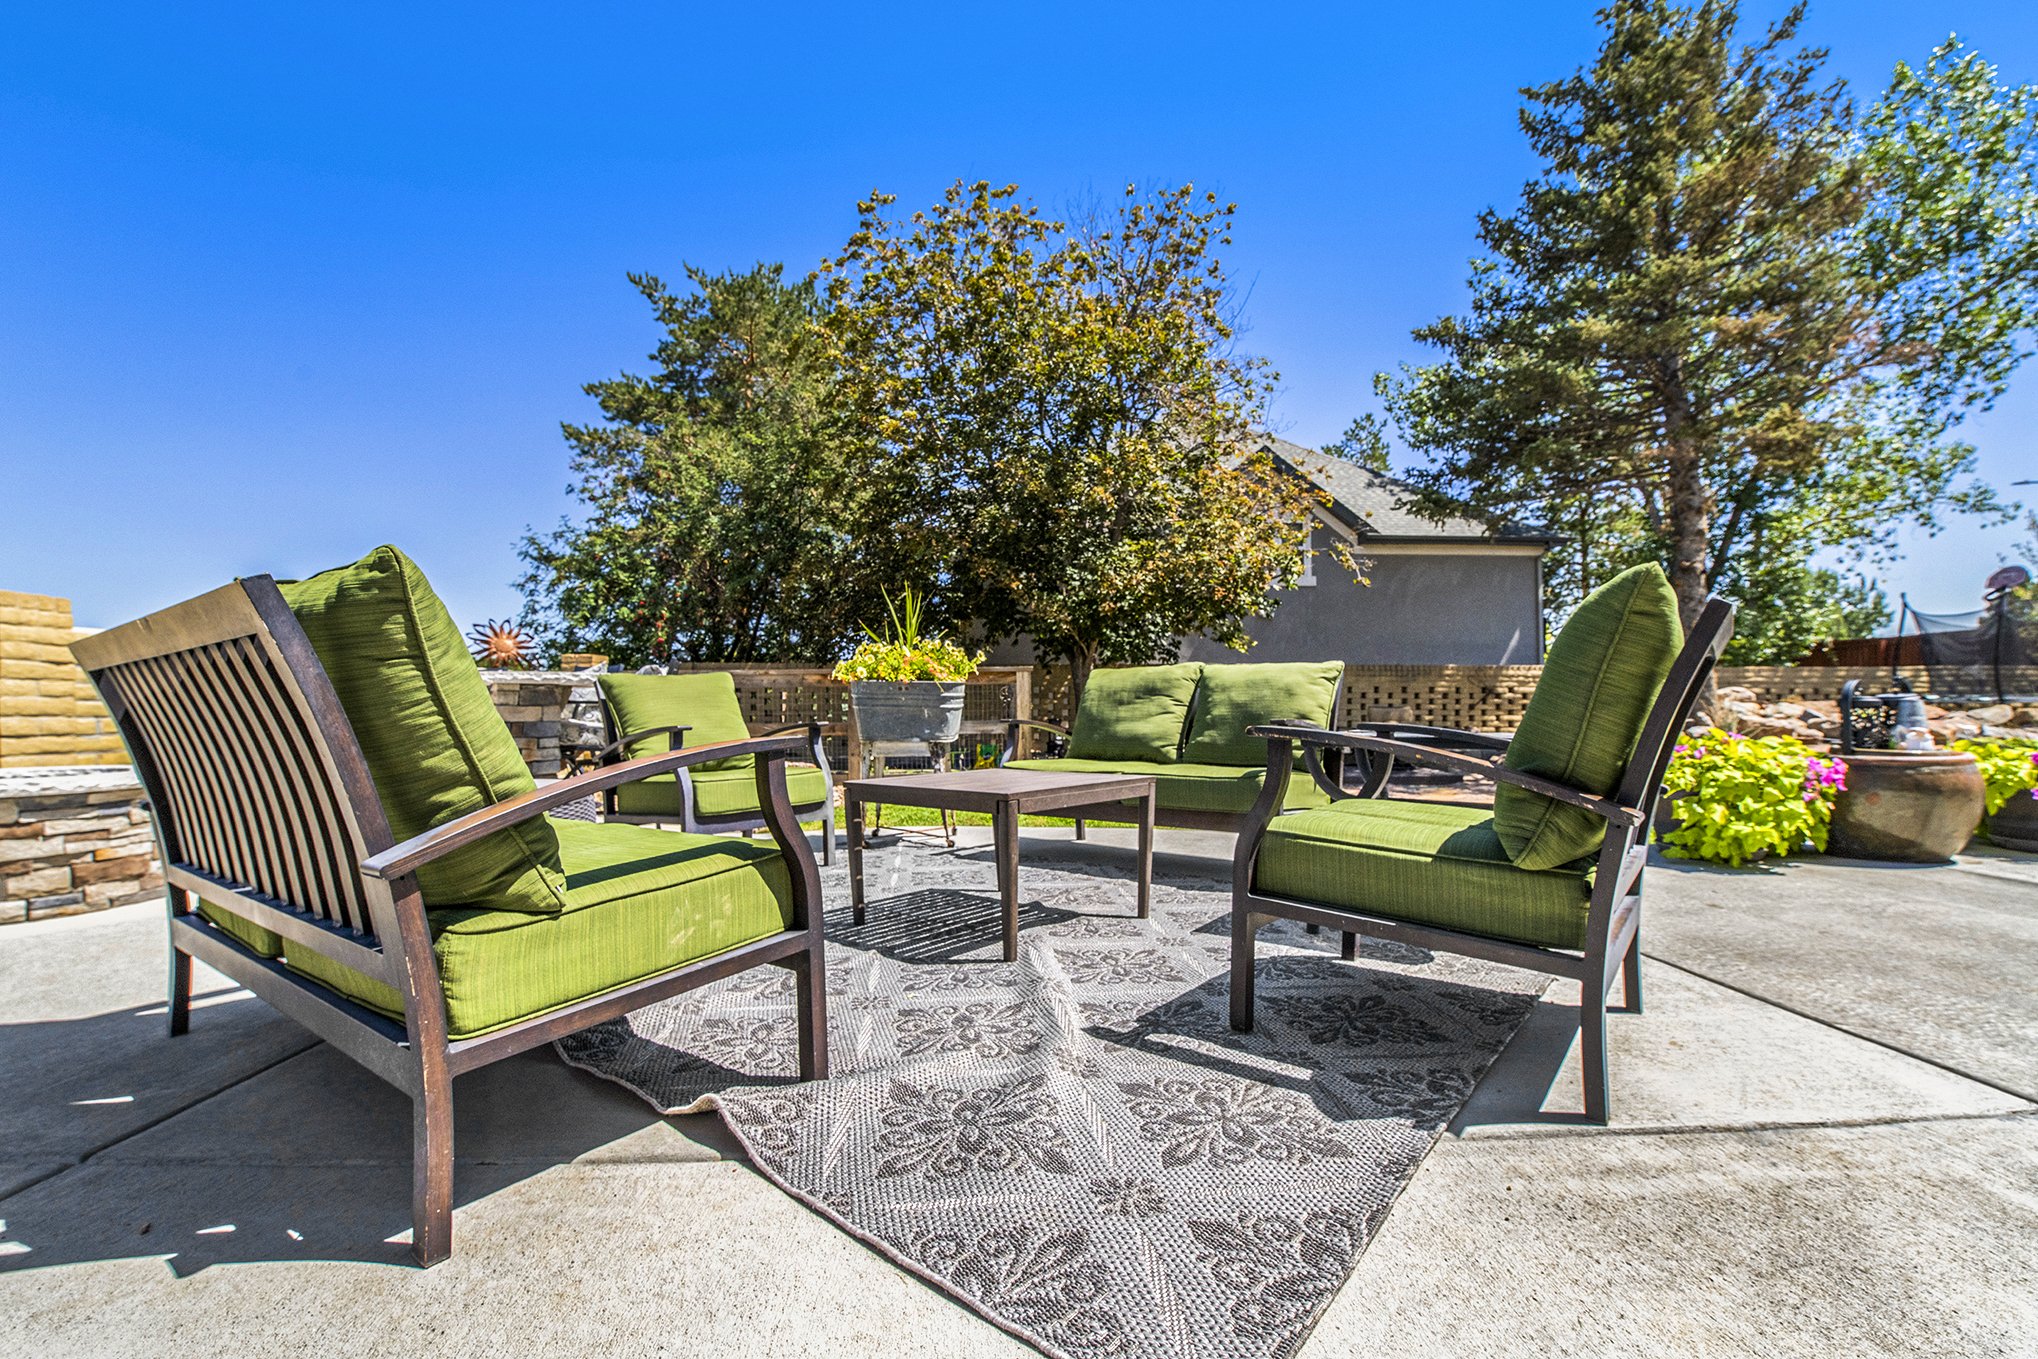
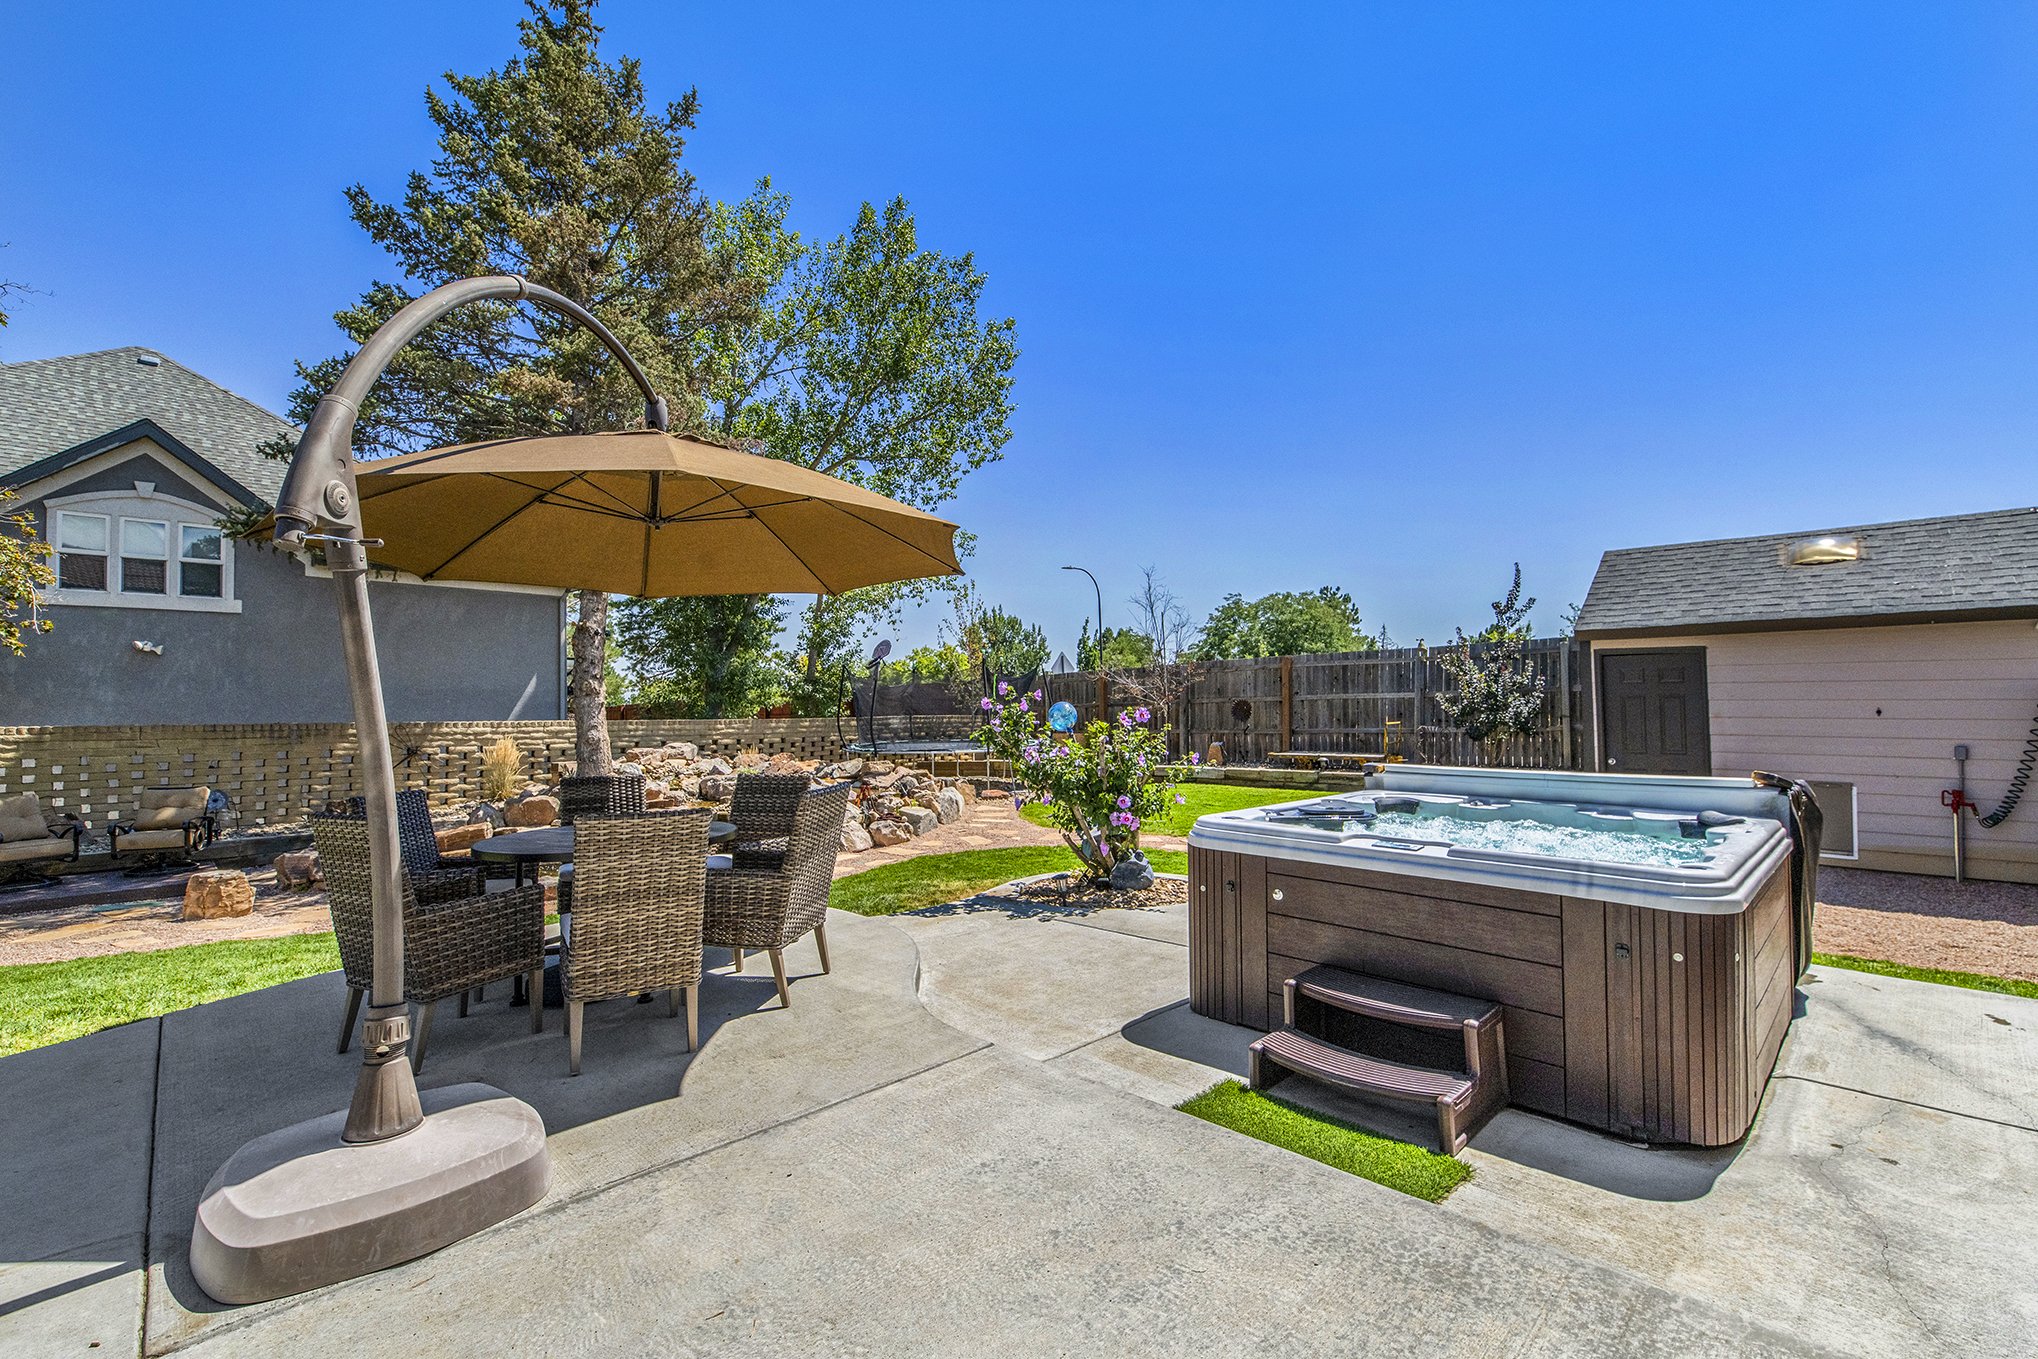
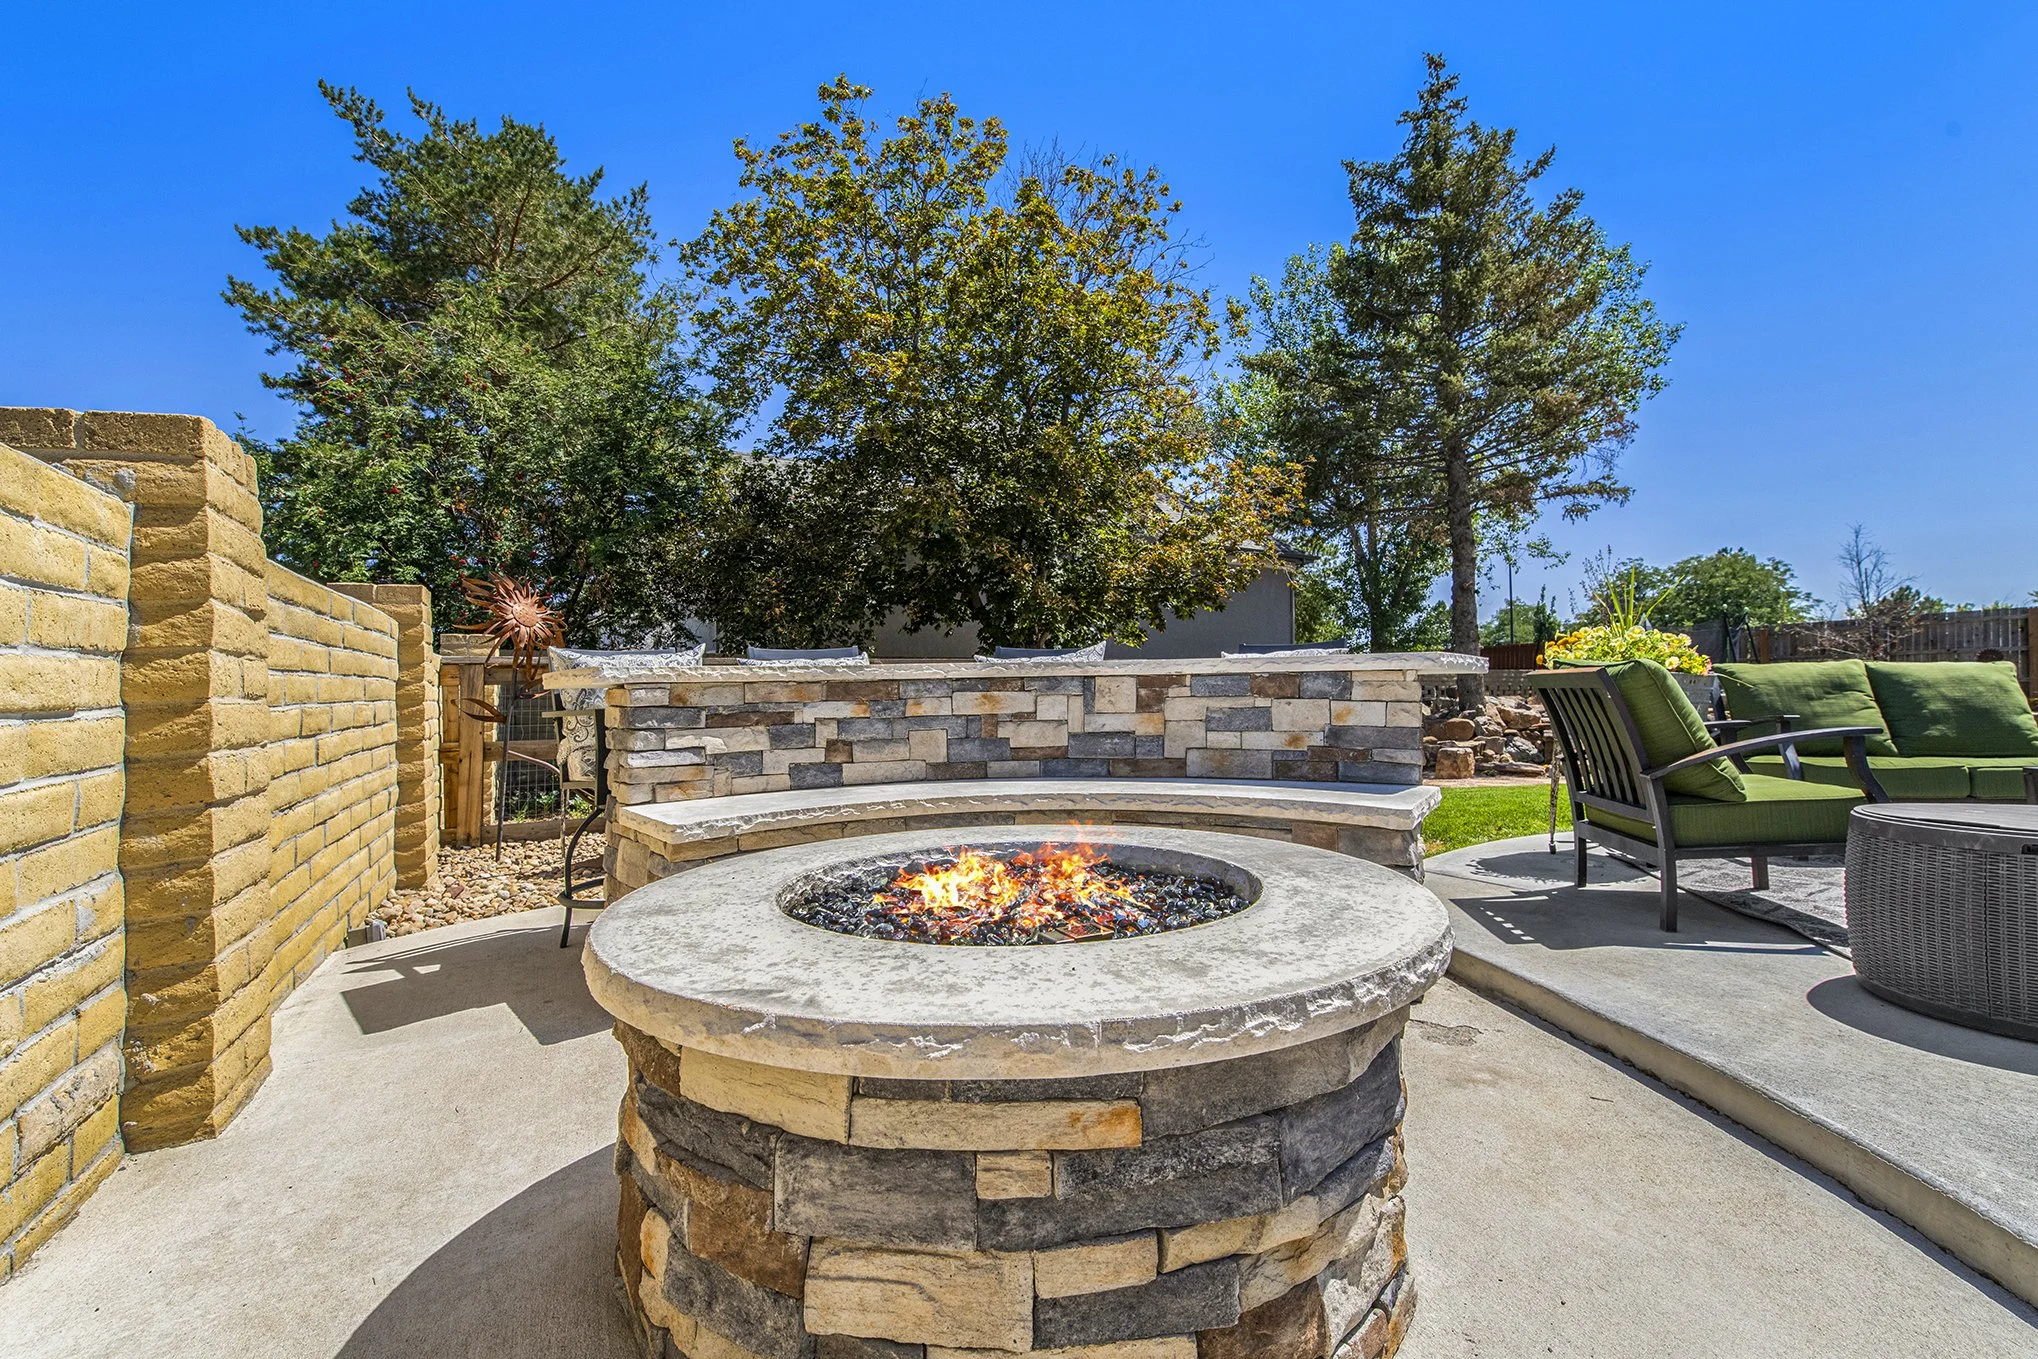
As Featured in West + Main Home Magazine: Paving the Way for Outdoor Bliss
As Featured in West + Main Home Magazine: A Backyard Pond Renovation
If there is a home that you would like more information about, if you are considering selling a property, or if you have questions about the housing market in your neighborhood, please reach out. We’re here to help.